
Pasadena Elite Painting repaired several damaged areas of drywall before repainting our bedroom. The repaired sections blend perfectly with the surrounding walls, and the finished room looks clean and polished.
Drywall Repair & Painting in Pasadena, CA
Pasadena Elite Painting is Los Angeles County's trusted expert in drywall repair and painting, specializing in seismic crack re-bedding, water-damaged board replacement and Level 4 and Level 5 finishing. We offer texture matching and full-room skim coating.
Our team provides repairs feathered wide enough to disappear, delivering flat walls for homes and fast make-good for both residential and commercial projects. Fully licensed (CSLB #585047), insured and bonded, we handle everything from a doorknob hole to a whole ceiling replaced after a leak.
From re-securing hollow plaster to its lath before it is filled to sanding a joint under a work light so it vanishes in daylight, our team handles every detail. Serving Pasadena, Alhambra, Eagle Rock and Temple City, we ensure fast, efficient service and deliver reliable, professional and invisible results on every drywall repair project.
- Repairs feathered, not just filled
- Texture matched before priming
- Water source identified first
- Licensed, insured and bonded
Reviews
What clients say about our repair work
Beautiful exterior painting and excellent workmanship from beginning to end.
We hired the team to paint several units in our rental property. The walls, doors, and trim were finished neatly, and each space looked fresh and ready for new tenants. The results made a noticeable difference.
Our commercial storefront needed an update, and Pasadena Elite Painting delivered exactly what we wanted. The new color scheme looks clean and professional, giving the building a much stronger street presence.
The ceiling painting came out smooth and even. The room feels much cleaner and brighter now.
We had peeling paint and minor surface damage on the outside of our home. The team prepared the problem areas carefully before applying the new paint. The finished exterior looks smooth, durable, and professionally restored.
Great work on our doors, baseboards, and interior trim. Every line looks crisp and precise.
Pasadena Elite Painting transformed our older home with fresh interior and exterior paint. The preparation work was thorough, the color coverage was consistent, and the finished surfaces look outstanding. The entire property now feels well maintained and updated.
01
What the damage tells us about the repair
A hole is a hole, but a crack has a cause. Repairing the surface without reading what produced it is how the same line reappears in the same place next spring.
| What you have | Usual cause | Repair |
|---|---|---|
| Hairline crack above a door or window | Stress concentration at the opening, aggravated by ground movement | Cut out, re-tape with mesh or paper, three-coat and feather wide |
| Long crack running along a ceiling line | Truss uplift or framing movement between seasons | Cut back, re-tape, and consider a flexible detail so it does not simply reopen |
| Row of small round bumps or dimples | Nail or screw pops as framing timber dries and moves | Reset the fastener into solid framing, add a second, then fill and finish |
| Brown-edged stain on a ceiling | Active or historic water ingress from roof, plumbing or an upstairs bathroom | Find and fix the source, cut out saturated board, replace, block the stain, refinish |
| Soft or crumbling board | Prolonged moisture, often behind a slow leak rather than a burst | Cut back to sound board on the framing centres and replace, never fill |
| Hollow-sounding plaster on an older wall | Plaster separated from the wood lath key | Re-secure to the lath with washers before any filling, then skim |
| Visible past repairs under raking light | Patches filled but never feathered wide enough | Skim out wide, re-sand and reprime, or skim the whole wall where there are many |
02
The repair sequence
Drying time between coats is not padding in the schedule. Compound that has not fully dried will shrink after it is painted, and the repair will show.
Find the cause
Before anything is cut, we work out what produced the damage. A water stain gets traced to its source, a recurring crack gets looked at for movement, and a soft patch of board gets probed for how far the moisture travelled.
Cut back to sound material
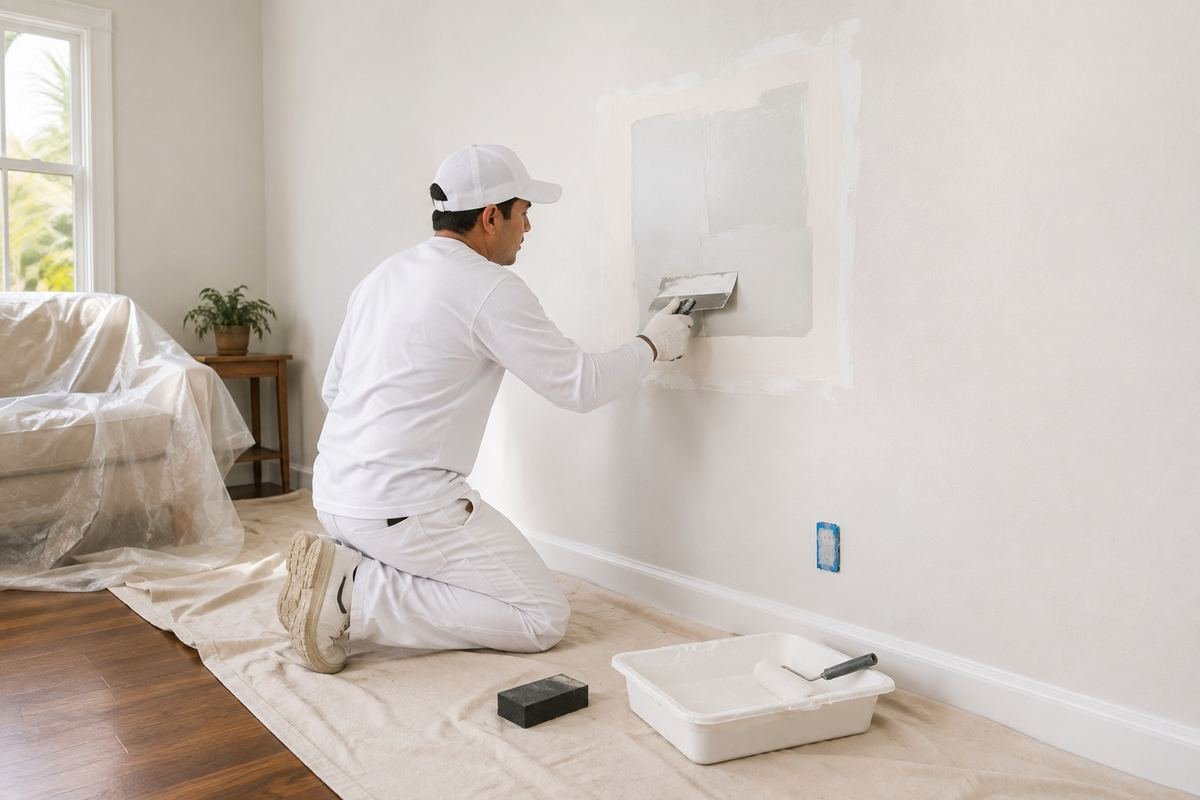
Damaged board is cut back to the framing centres so the patch has something solid to fasten to. Cracks are opened rather than skimmed over. On lath and plaster, loose sections are secured back to the lath before any filling starts.
Patch and tape
New board cut to fit and fastened, joints taped, and every repair given three coats of compound with drying time between them. Corner bead damage is cut out and replaced rather than built up with filler, which never holds an edge.
Feather and sand
Each coat is spread wider than the last so the repair transitions into the wall over a broad area. Sanding is done under a raking work light, because a flaw invisible under an overhead fitting is glaring in afternoon light from a window.
Match the texture
Smooth, orange peel, knockdown or a hand-trowelled plaster finish. The texture is sampled from the surrounding wall, practised on a board and matched, because a mismatched texture reads as a scar no matter how good the colour match is.
Prime and paint
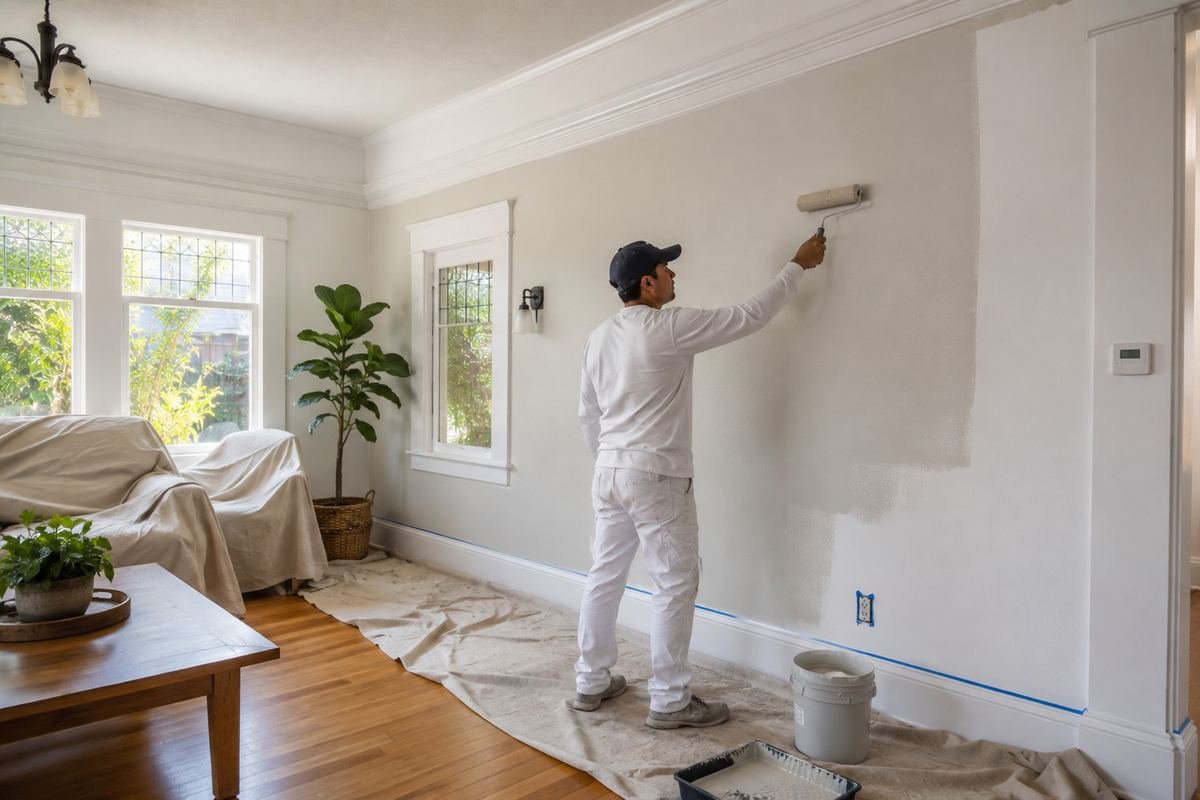
Every repair is primed so the porous compound does not flash through the finish as a dull patch. Then the wall is painted, corner to corner, since spot painting a repair on a wall of any age will always show.
03
Level 4, Level 5 and when the difference matters
Finish level is a specification, not a compliment. Most walls do not need Level 5, and some absolutely do.
Level 4
The standard residential finish: joints and fasteners coated and sanded, ready for a flat or matte paint. It is entirely adequate for most rooms lit from above or from a small window, and it is what the majority of Pasadena homes have on their newer walls.
Level 5
A skim coat over the entire surface, so the paper face and the compound share one uniform porosity. Necessary where a wall takes strong raking light from a large window, where the finish is a satin or gloss, or where dark colours and critical lighting will show every joint.
Skim coating an old wall
Different job, same outcome: an old wall carrying decades of patches, heavy texture or wallpaper damage is skimmed flat across its whole face. It is the honest answer where a room has too many past repairs to blend into individually, and it often follows wallpaper removal.
Plaster is not drywall
A large share of Pasadena housing predates gypsum board, and its interiors are lime plaster over wood lath. Plaster is harder, more brittle and considerably heavier, and it fails differently: it cracks along lath lines, it delaminates from its key and sounds hollow when tapped, and it does not accept a modern patching compound the way board does. Loose areas are re-secured to the lath first, cracks are cut out and bedded, and the repair is built up in coats rather than filled in one pass. Where board has replaced plaster in a past remodel, the two meet at a step that needs feathering wide to disappear. This is routine work in South Pasadena, San Marino and the older Altadena streets.
04
Frequently asked questions about drywall repair and painting
Why does my repair keep cracking in the same place?
Because the movement causing it has not stopped. A crack at a door or window corner is a stress point, and simply refilling it treats the symptom. The fix is to cut it out, re-tape with the appropriate reinforcement and feather wide, and in some cases to accept that a hairline may return and plan a flexible detail there rather than pretending otherwise.
Can you match my ceiling texture?
Usually yes, including orange peel, knockdown and the older hand-trowelled finishes found in period Pasadena houses. We sample the existing texture, mix and practise on a board, then apply and adjust. Very heavy or unusual hand textures are harder to match invisibly, and in those cases retexturing the whole ceiling can give a better result than a perfect-looking patch surrounded by an imperfect blend.
Do you paint the whole wall after a repair, or just the patch?
The whole wall, corner to corner. Spot painting a repair leaves a visible difference in sheen and often in colour, because existing paint has aged and the new material has not. On a wall with a strong colour or a satin sheen the difference is obvious immediately. We include the full wall in the scope rather than leaving you to discover this afterwards.
How long does a typical repair take?
A small patch is a two-visit job in practice: repair and finish on one day, then sanding, priming and painting once the compound has fully dried. Larger areas, water damage requiring board replacement, or whole-room skim coating take longer, and most of the added time is drying rather than working. Rushing that drying is what produces shrinkage cracks later.
Do you handle the water leak that caused the ceiling damage?
We find and identify it, and we do not paint over active moisture. Plumbing and roofing repairs go to the appropriate trade, and we coordinate around their schedule so the board is replaced once the source is genuinely fixed. Coating a ceiling that is still getting wet is money thrown away, and we will say so.
Is there a lot of dust involved?
Less than there used to be, and we manage it deliberately: dust-controlled sanding, sheeting over doorways to unaffected rooms, and floors protected. Compound dust is fine and travels, so containment matters more than most people expect. On larger jobs air movers and filtration are used so it does not end up through the whole house.
Can you repair damage in a rental between tenants?
Yes, and it is a large part of what we do for property managers. Wall and ceiling damage is made good, texture is matched, and units are repainted to a repeatable specification so every turnover comes out the same. That work is described on the apartment turnover painting page.
05
Related painting services
Repair work is nearly always the first step in something larger.
- Interior House Painting
- Ceiling Painting
- Wallpaper Removal & Repainting
- Venetian Plaster & Specialty Finishes
- Apartment Turnover Painting
- Office & Retail Interior Painting
Painting service areas
Repair and painting crews across every community we cover around Pasadena.
Get the damage repaired properly, then painted
Send a photograph of the crack, hole or stain. We will tell you what caused it and what the repair actually involves.
- Free written estimate
- Cause identified before the repair
- Licensed, insured and bonded