
Pasadena Elite Painting did a beautiful job repainting the interior of our home. The rooms look brighter, cleaner, and completely refreshed.
Interior House Painting in Pasadena, CA
Pasadena Elite Painting is Los Angeles County's trusted expert in interior house painting, specializing in plaster repair, hand-cut trim work and low-odour coating systems for occupied homes. We offer room-by-room scheduling and full-house colour planning.
Our team provides documented preparation, delivering clean lines for homes and consistent sheen control for both residential and commercial projects. Fully licensed (CSLB #585047), insured and bonded, we handle everything from one bedroom to a whole-house repaint.
From re-bedding a lath crack above a doorway to holding a straight line where crown moulding meets a hundred-year-old ceiling, our team handles every detail. Serving Pasadena, South Pasadena, San Marino and Altadena, we ensure fast, efficient service and deliver reliable, professional and hard-wearing results on every interior painting project.
- Furniture moved and covered daily
- Plaster and drywall repaired first
- Low-odour coatings in occupied rooms
- Licensed, insured and bonded
Reviews
What clients say about our interior work
We hired Pasadena Elite Painting to repaint our living room, kitchen, and hallway. The lines around the trim and ceilings came out incredibly clean, and the new colors transformed the entire space. Everything was left neat when the work was finished.
We needed our office repainted without creating a major disruption for employees. Pasadena Elite Painting handled the project efficiently and gave the entire workspace a brighter, more professional appearance.
The painters took great care around our furniture, flooring, and fixtures. Our walls and ceilings look fantastic, and there were no drips or messy edges left behind.
Our new accent wall looks perfect. It completely changed the feel of the room.
Pasadena Elite Painting helped us choose colors that complemented our flooring and natural lighting. The finished interior feels warm, coordinated, and much more inviting. We are extremely happy with the transformation.
Great work on our doors, baseboards, and interior trim. Every line looks crisp and precise.
Pasadena Elite Painting transformed our older home with fresh interior and exterior paint. The preparation work was thorough, the color coverage was consistent, and the finished surfaces look outstanding. The entire property now feels well maintained and updated.
01
Choosing the right sheen for each room
Sheen is the decision people spend the least time on and regret the most. It controls how washable a wall is, how much light it throws back and how ruthlessly it shows every imperfection in the surface underneath.
| Sheen | Best used on | Washability | What it shows up |
|---|---|---|---|
| Flat and matte | Ceilings, low-traffic bedrooms, older plaster walls | Limited, marks burnish when scrubbed | Almost nothing, which is why it suits uneven period plaster |
| Matte with a washable binder | Living rooms and hallways in homes with children | Good, holds up to a damp cloth | Very little, a practical compromise on older walls |
| Eggshell | The default for most walls, including dining and family rooms | Good | Patch edges and roller lap marks if preparation was rushed |
| Satin | Kitchens, bathrooms, laundry rooms, mud rooms | Very good | Wall waviness and every unfeathered patch, under raking light |
| Semi-gloss | Trim, doors, casings, baseboards, window sash | Excellent | Sanding scratches and brush marks, so preparation has to be tight |
| Gloss | Front doors, feature joinery, some period woodwork | Excellent | Every flaw in the substrate, without mercy |
On a 1920s wall that has been patched five times over a century, a satin finish will advertise every one of those repairs across the room at four in the afternoon. That is a substrate decision, not a taste decision, and it is worth having before the colour conversation.
02
How we paint an occupied house
Most interior work happens while you are still living there. The sequence below is built around that, not around an empty house.
Room order agreed first
We agree which rooms come first and which stay usable. Bedrooms are usually done in pairs so nobody loses somewhere to sleep, and kitchens are scheduled around the days you actually need them.
Protection
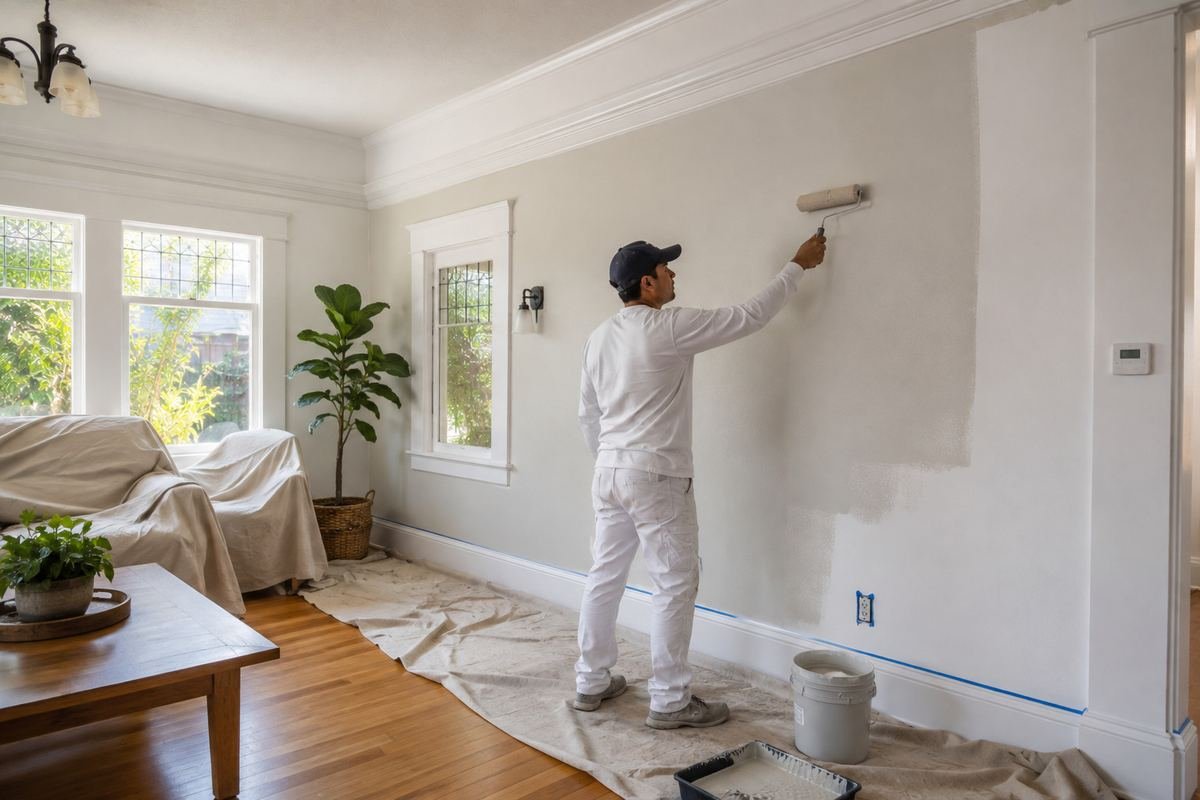
Furniture is moved to the centre and covered, floors are protected wall to wall, and doorways to unpainted rooms are sealed so dust does not travel. Hardware, switch plates and vent covers come off rather than getting cut around.
Repair
Nail pops, screw pops, hairline lath cracks, corner bead damage, past patches that were never feathered, and any water staining. Loose plaster gets re-secured before it gets filled, because filling a hollow section only postpones the failure.
Sanding and priming
Repairs are sanded flush and feathered wide. Bare patches, water stains and knots get spot-primed, glossy old trim gets a bonding primer, and anything that has been repaired gets primed so it does not flash through the finish coat.
Cutting in and coating
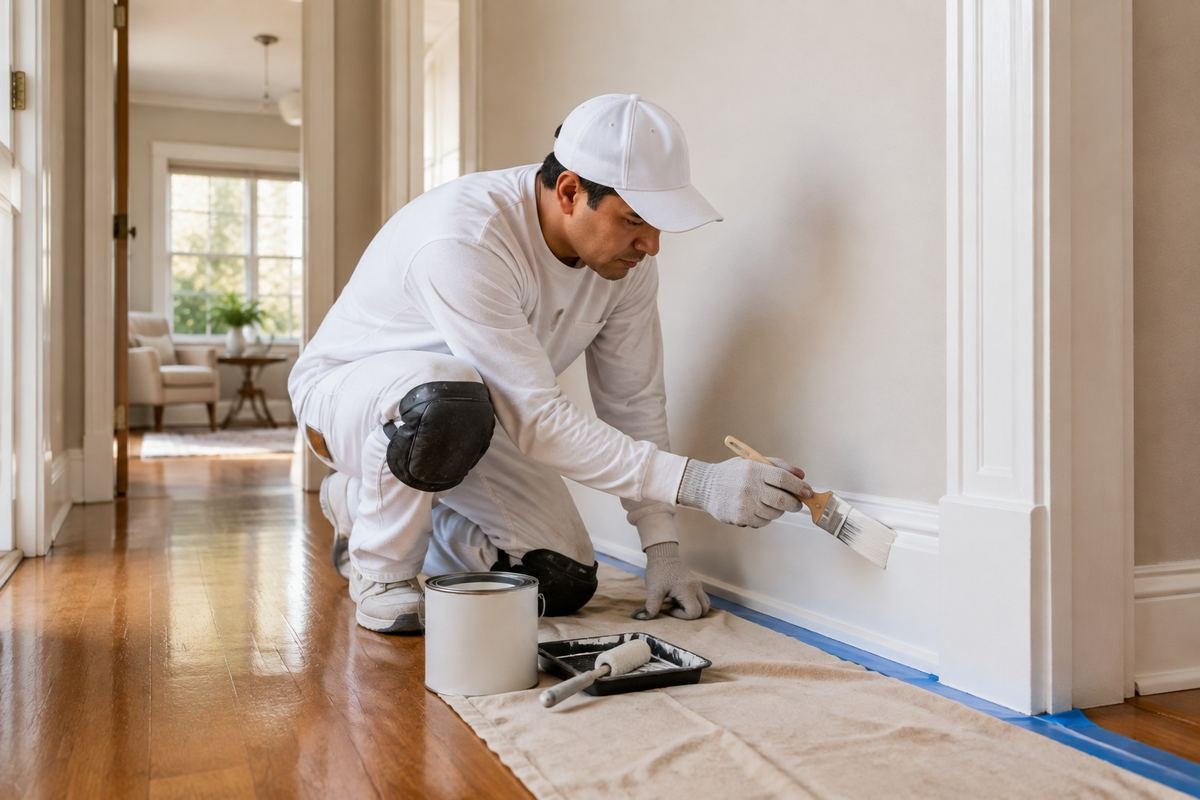
Ceilings first, then walls, then trim. Lines are cut in by hand at every ceiling, corner and casing. Two finish coats as standard, because one coat over a colour change is a promise nobody can keep.
Reinstall and review
Hardware and plates go back, furniture returns to position, and we walk the rooms with you in daylight. Anything on the list gets corrected before the crew leaves for good.
03
Plaster, drywall and the joint between them
Pasadena interiors are not uniform. A single hallway can run from original lime plaster into a 1970s board repair into a modern remodel, and each stretch behaves differently under a roller.
Lime plaster over wood lath
Common in anything built before the mid 1940s. It cracks along the lath, it separates from its key and sounds hollow, and it will not hold a patch that is simply smeared over the top. Loose areas are re-secured to the lath first, then the crack is cut, bedded and skimmed.
Gypsum board
Postwar and later, and much more predictable. Screw pops are reset rather than filled over, tape that has lifted is cut out and re-taped, and repairs are finished to a Level 4 or Level 5 standard depending on the sheen and lighting the room will end up with.
The transition
Where a remodel has met original plaster there is usually a step, a texture change or both. Feathering that joint wide enough to disappear takes several passes and drying time. Skipping it produces a wall that looks fine head-on and obviously patched from an angle.
Texture, and why matching it matters more than the colour
Most Pasadena interiors carry either a smooth trowelled plaster finish, a light orange peel, or a knockdown from a later remodel. A repair that leaves the wrong texture reads as a scar no matter how well the colour is matched, because the eye picks up the change in shadow long before it picks up a change in hue. We sample the surrounding texture, practise on a board and match it before priming. Where a whole room has an unwanted heavy texture, skim coating the walls flat is a better answer than trying to blend into it, and that runs alongside drywall repair and painting.
04
Frequently asked questions about interior house painting
Do I need to move out while the interior is painted?
No. Interior work is sequenced room by room so the house stays livable, with furniture centred and covered and doorways sealed to unpainted areas. Modern waterborne coatings are low in odour, so a bedroom painted in the morning is generally sleepable that night. The exception is a whole-house repaint on a tight deadline, where being out for a few days simply makes it faster.
Why do you insist on two finish coats?
Because one coat is a colour change, not a finish. A single coat leaves uneven film build, which shows as patchiness in raking light and wears through at the touch points first: switch plates, door edges, the corridor wall people brush past. Two coats give you the film thickness the product was formulated around, and that is what determines how it cleans and how long it lasts.
Can you paint over dark walls with a light colour?
Yes, and the honest route is a tinted primer rather than four coats of finish. A grey or tinted primer kills the old colour in one pass and lets two finish coats do their actual job. Trying to bury a deep red or navy under successive coats of pale paint wastes material and still leaves a shadow.
What happens to the trim and doors?
Trim, casings, baseboards and doors are usually finished in semi-gloss and cut in by hand. Old alkyd trim gets scuff-sanded and bonding-primed so the new waterborne enamel grips rather than peeling in sheets later. Doors can be taken off and sprayed for a harder, level finish where the schedule allows it.
Do you paint interior brick, panelling or built-ins?
All three. Interior brick needs the right primer and a decision about whether it should be painted at all, since it is effectively permanent. Wood panelling needs degreasing, sanding and a bonding primer. Built-in cabinetry and bookcases are treated much like cabinet work, sprayed where possible for a finish that does not show brush marks.
How do you stop water stains coming back through the paint?
By fixing the source first and then blocking the stain properly. A water stain painted over with wall paint will bleed through within days, because the tannins and minerals migrate. We use a stain-blocking shellac or an oil-based blocker over the affected area, let it cure, then prime and paint. If the leak has not been resolved, we say so rather than covering it up.
Will you help with colour selection?
Yes, and we do it on the wall rather than off a chip. Sample areas go up in the actual rooms and get looked at in morning and evening light, because Pasadena daylight is strong and warm and a colour that looks calm in a showroom can read yellow on a south-facing wall here. For whole-house schemes we look at how the colours flow between rooms and sightlines rather than choosing each room in isolation.
05
Related painting services
Interior repaints rarely stay inside one trade. These are the services that most often run with them.
- Ceiling Painting
- Drywall Repair & Painting
- Kitchen Cabinet Painting
- Wallpaper Removal & Repainting
- Venetian Plaster & Specialty Finishes
- Historic Home Restoration Painting
Painting service areas
The same crews and the same specification standards across every community we cover around Pasadena.
Get your interior repaint specified in writing
Tell us which rooms and what the walls are doing. You get a written scope naming the repairs, the primer and the sheen for each space.
- Free written estimate
- Repairs feathered and primed before coating
- Licensed, insured and bonded